Time Required: 20 minutes
Tools Required: Phillips screwdriver
Cost: $60.00
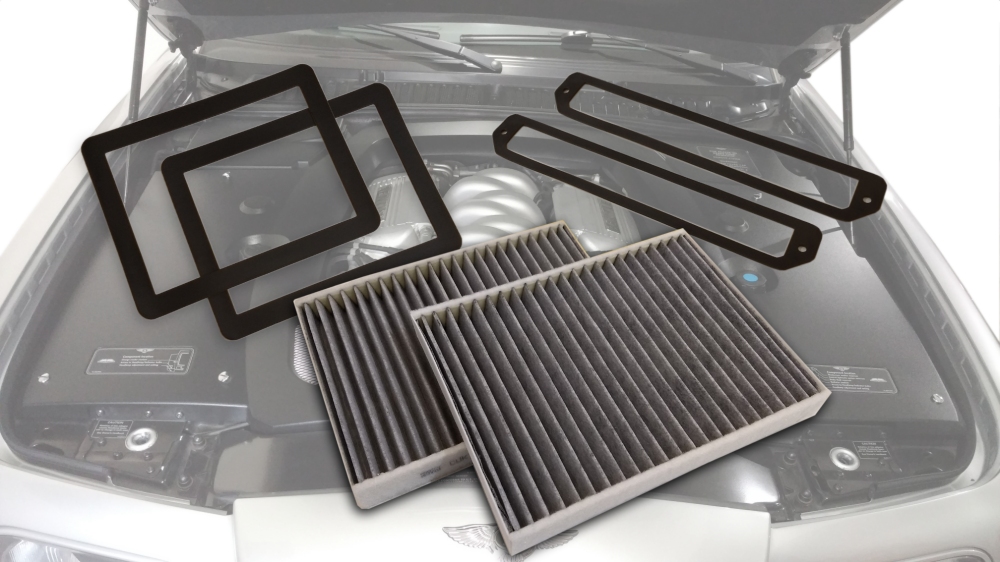
Parts:
- Pollen Filters: 3Z0819439AP
Suitable Aftermarket Part: CUK2736-2 (Mann Filter) - 2 x Pollen Filter Seal (top): PA26393PA
- 2 x Pollen Filter Seal (body): PA26394PA
The Bentley Arnage service schedule requires replacing pollen filters every year or 10,000 miles (which ever comes first). The pollen filters are charcoal-activated and filter pollen, debris, dust, etc. from the air that is drawn in from the outside environment and into the climate system. This simple DIY job can accomplished in about 20 minutes. The cabin recirculation filters should also be replaced during this time.
The aftermarket filters can be purchased from Amazon. The seals were purchased from Flying Spares. Do not purchase the filters from Flying Spares, they are the exact same aftermarket Mann Filters that can be from Amazon (for 1/3 to 1/4 the price).
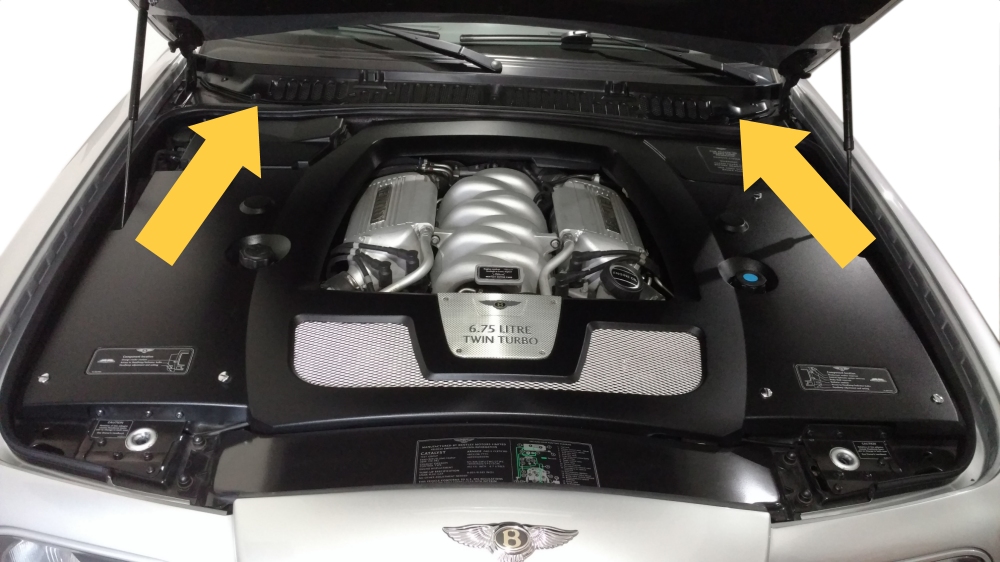
The pollen filters are located under the hood, above the firewall.
Right side (U.S. passenger side) pollen filter location
Left side (U.S. driver side) pollen filter location
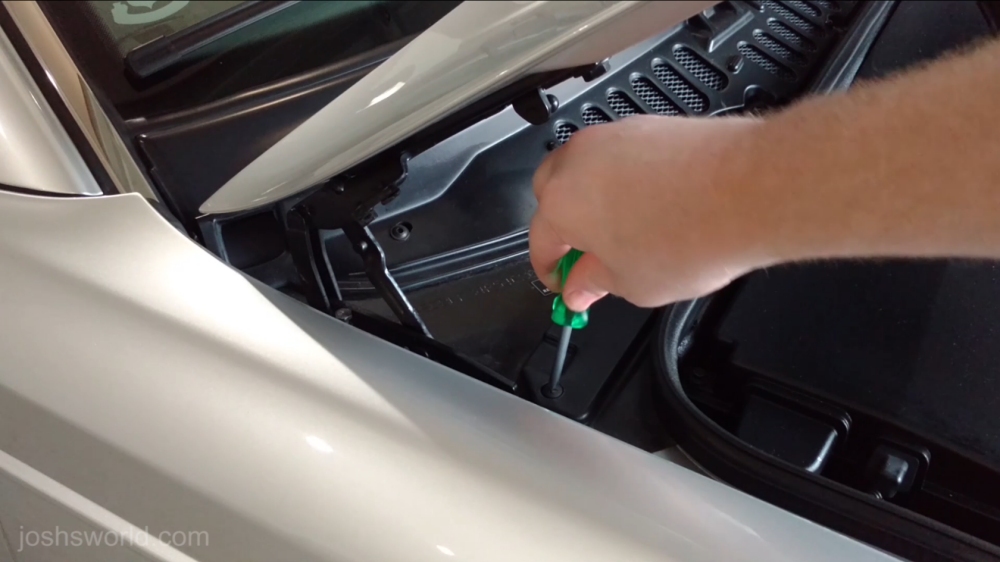
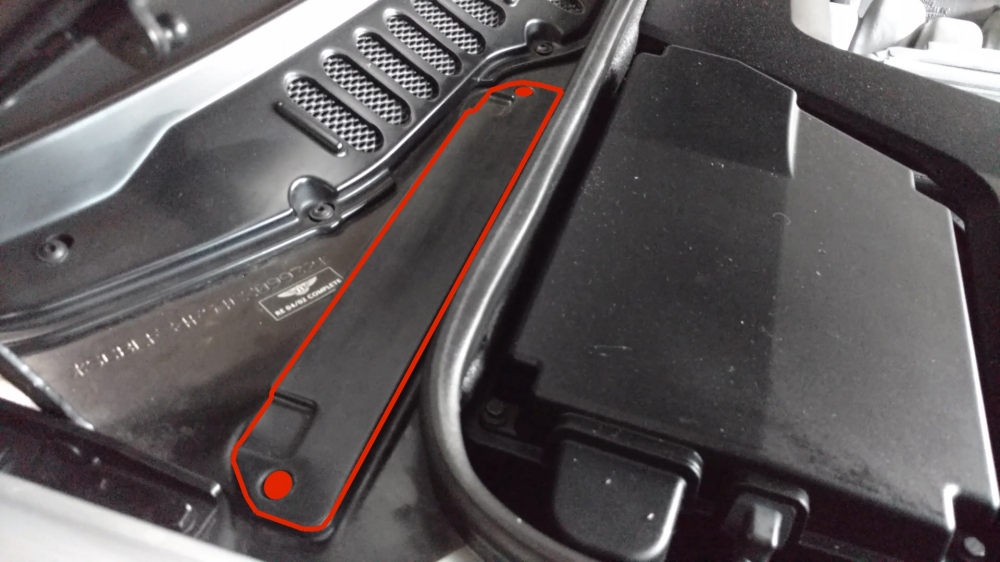
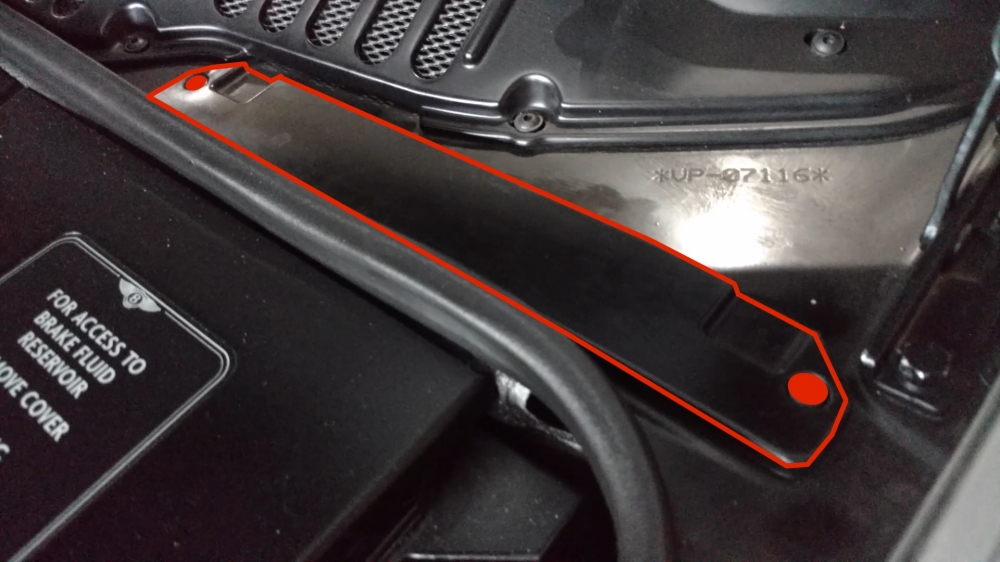
Use a Phillips head screwdriver to remove the two screws that hold in the pollen filter cassette.
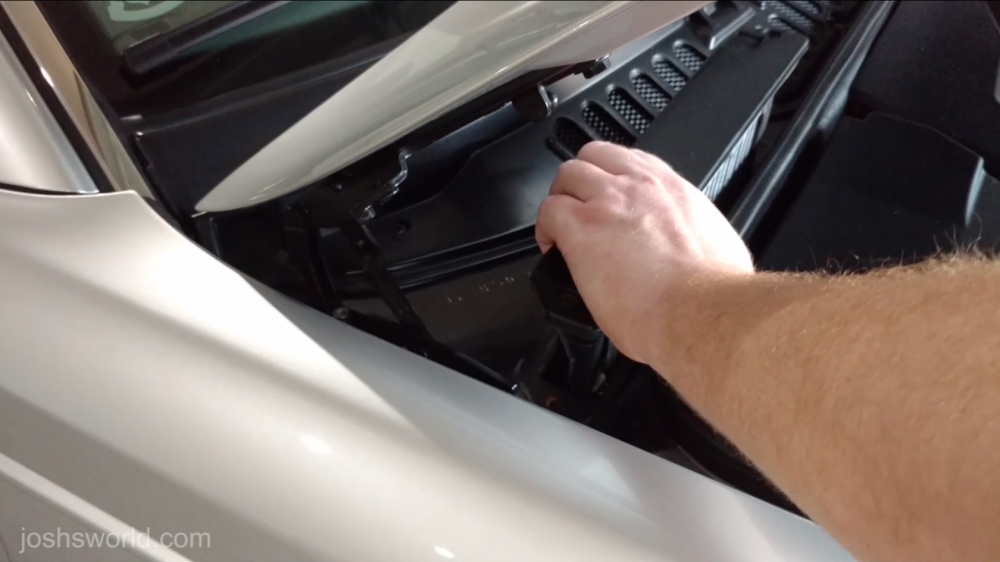
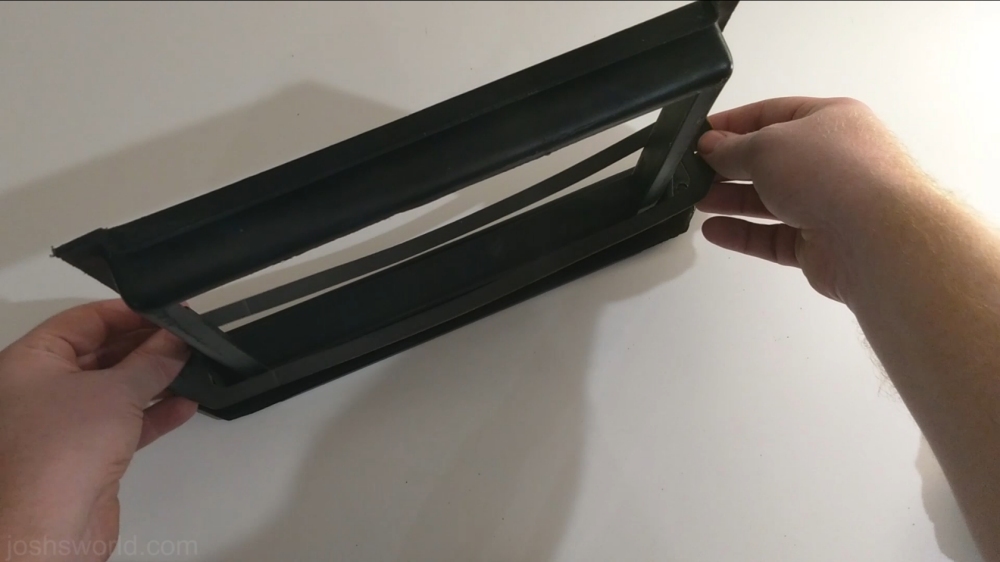
After the screws have been removed, gently pull the pollen filter cassette upward. You may have to fiddle with the cassette a little bit. The seal was getting snagged and adhering to the bracket, causing a bit of difficulty removing this filter. Be gentle because the cassettes will be reused for the new filters.
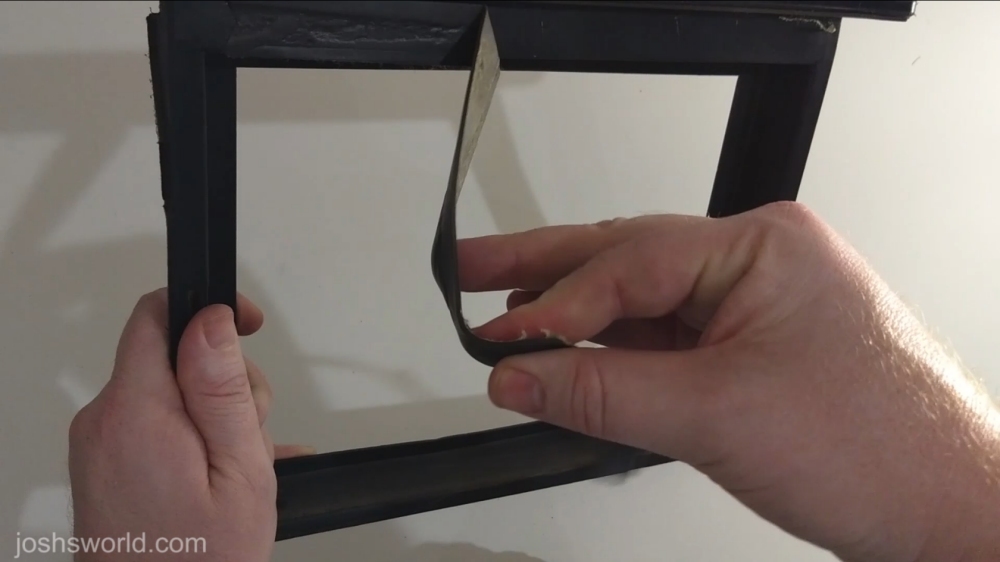
Remove the old filter seal.
There is also a filter seal on the top of the cassette that needs to be removed as well.
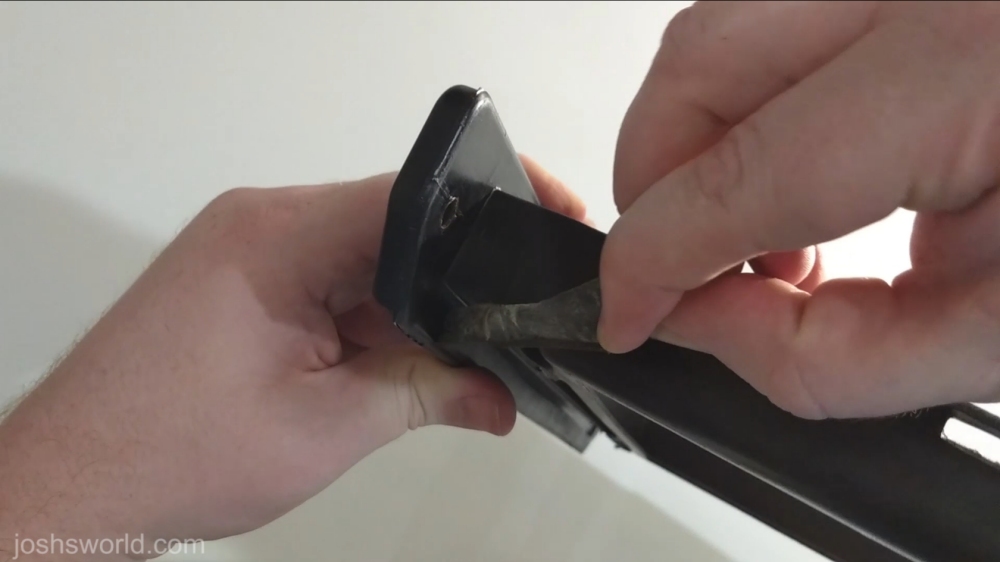
Clean off any residue that will prevent the new seals from adhering to the filter. Apply the top seal onto the cassette. Firmly press along the seal to make sure the entire area is securely adhered.
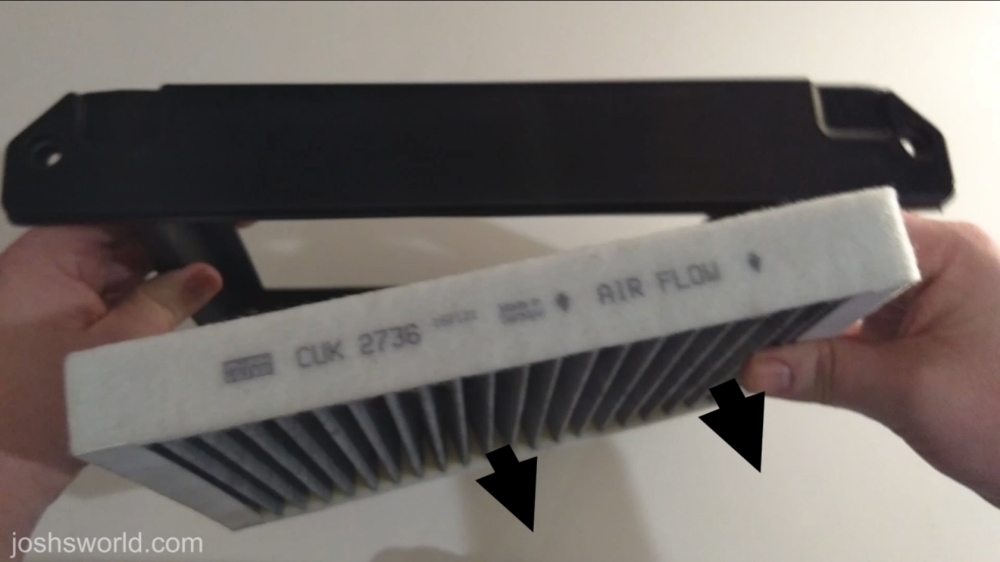
Some filters contain a single tab that aligns with the filter cassette to prevent the filter from being installed incorrectly. Since aftermarket filters may not contain this piece, it is important to note the direction of the air flow.
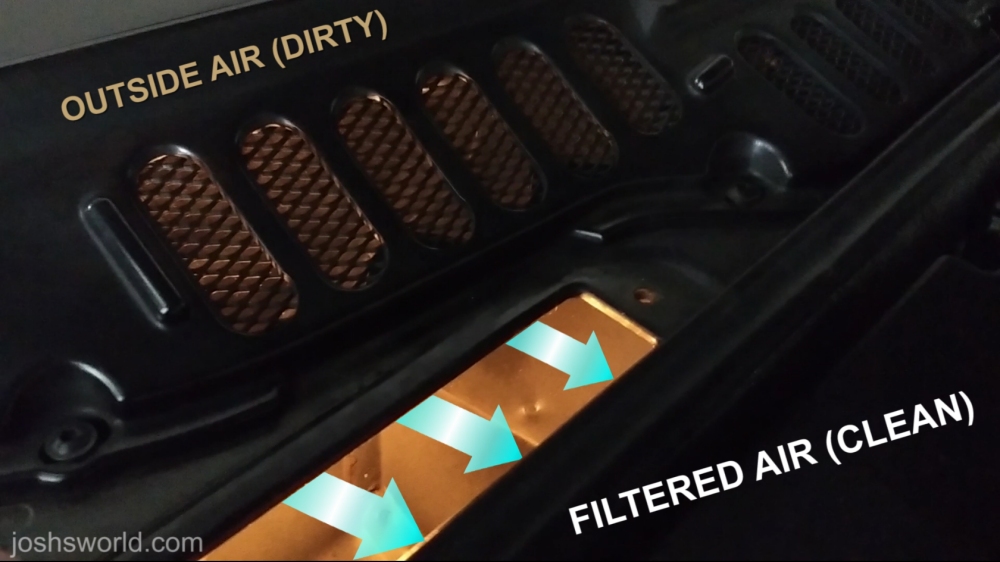
It is important to note that the air flow direction of the filters is rear to front. The images and video demonstrate that the source for outside air is through the cowl located below the windshield.
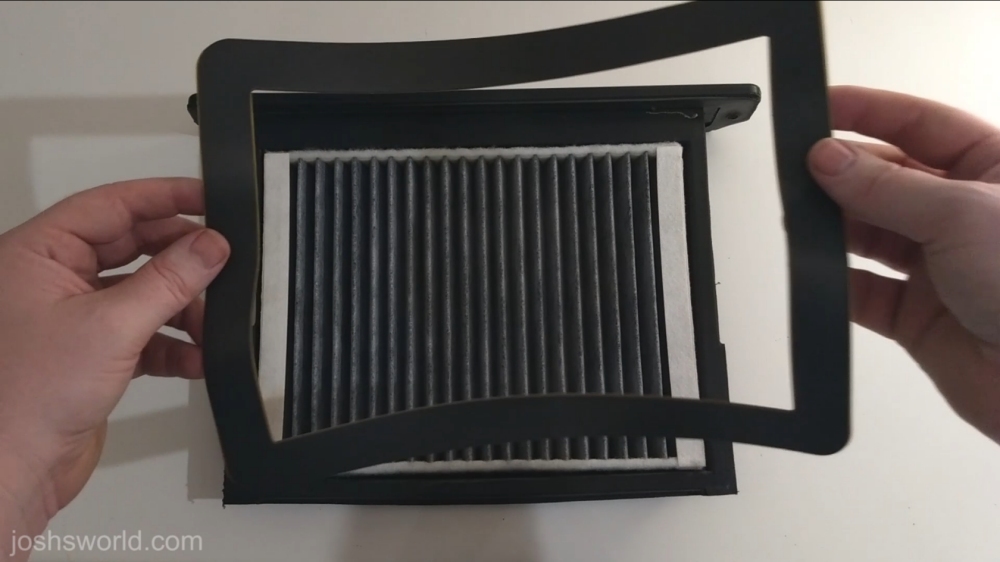
Once the pollen filter is installed in the proper direction, apply the large rectangular seal to the filter and cassette. Firmly press around the seal to make sure air does not bypass the filter.
Gently put the cassette back into the car. The cassette and filter should fit back into the brackets with minimal resistance. If you feel any sort of snag, slightly change the angle and re-attempt insertion. Once the filter cassette is seated perfectly within its brackets, fasten the screws.