It’s 2022 and I am happy to announce the launch of a new service to assist Bentley Arnage fans acquire the car of their dreams.
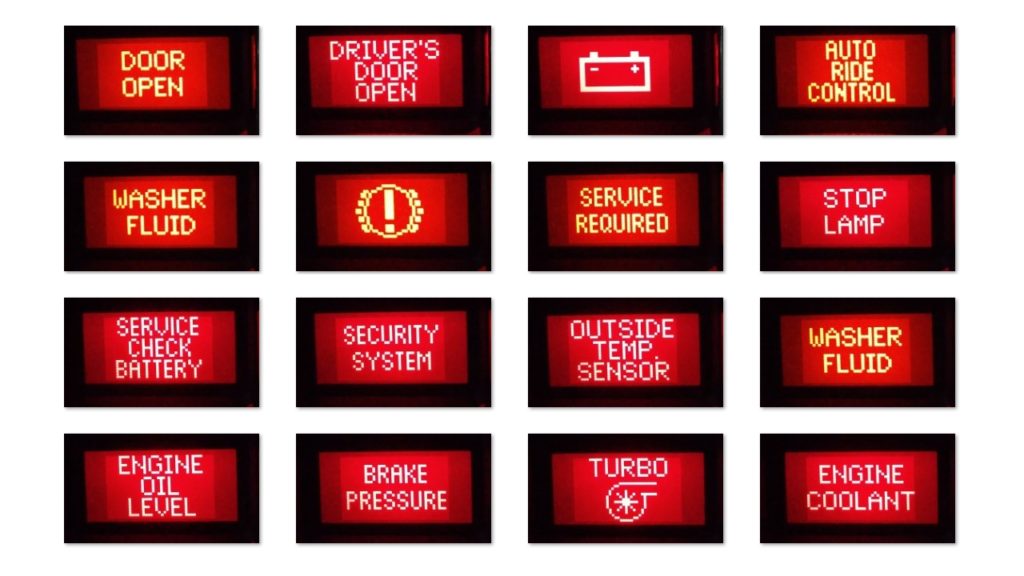
Everything you wanted to know about your Bentley Arnage dashboard warning lights, but didn’t know how to ask.
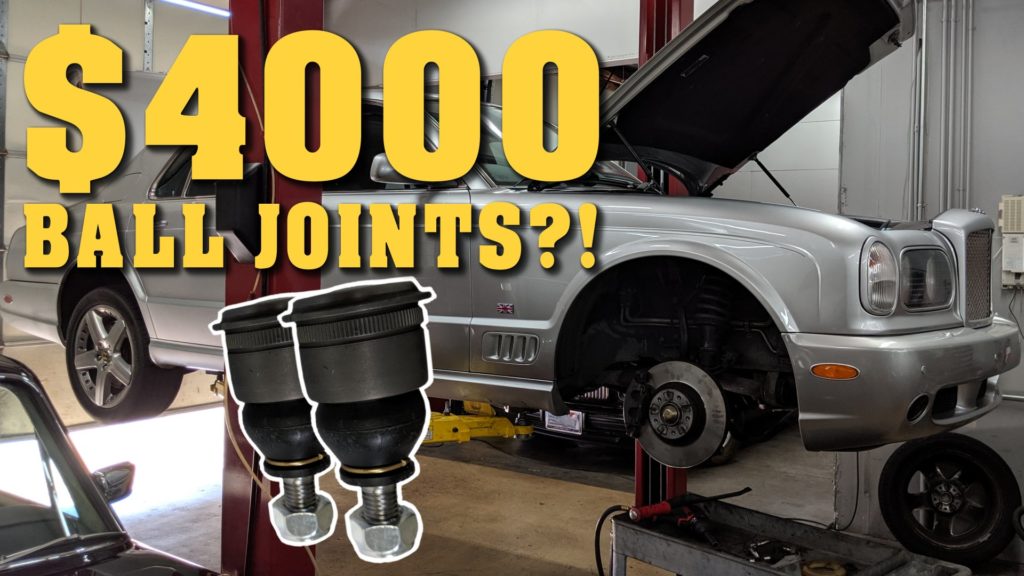
The ball joints on the Bentley Arnage and Rolls Royce Silver Seraph are well-known for ball joints prematurely failing.

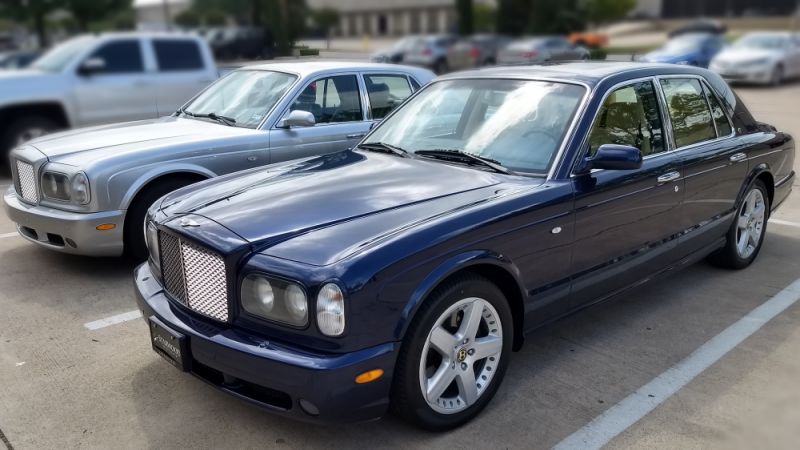
I recently had the opportunity to sit down with the boys at Launch Control to discuss my 3-year ownership experience with my 2004 Bentley Arnage…

I recently received an email alert for a 2002 Rolls-Royce Silver Seraph that came up for sale on eBay. This example is a rare Last…

Welcome to the obligatory “I took my [fancy car name here] to Carmax” post. I know these videos can be a bit of a gimmick,…

I try to respond to as many thoughtful comments as possible. I’ve created this video to address many of the frequently asked questions that I…

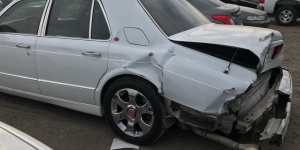
It has been over two years since I purchased my 2004 Bentley Arnage T. And what an amazing experience it has been. Unfortunately, we are…
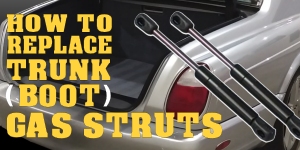
Time Required: 20 minutes Tools Required: Flathead screwdriver (small), Vice grips (optional) Cost: $120.00 Parts: Gas Strut Boot Hinge PR55888PA or PR55888PB In this article,…
One of the best parts about the Bentley Arnage ownership experience has been meeting other owners from all over the world. I’ve had the opportunity…