
Time Required: 20 minutes Tools Required: Phillips screwdriver Cost: est. $40.00 – $506.18 (depending on parts sourced) Parts: (Side Mirror Glass) North America: PP55407PA (left)…
It’s not really a secret to car guys that affordable Bentley and Rolls-Royce cars can be found for sale with relative ease. And whenever this…

I’ve developed a daily ritual of searching for cool, cheap cars or project cars on craigslist. Recently, I stumbled across this neglected beauty: a 1986…
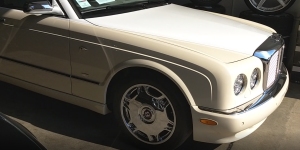
Mulliner is the in-house customization arm of Bentley. When you order a new Bentley automobile, the folks at Mulliner will go to every extreme to…
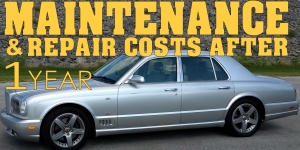
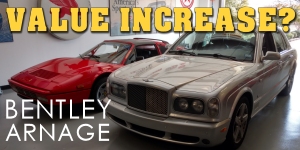
Season 1 Finale: Bentley Arnage Ownership Experience It has been more than a year since I responded to an imaginary challenge thrown down by Doug…

The most difficult part about creating this parody video was deciding whether to call it a Shmontage or a Shmeme. The following super-cut video contains…

Time Required: 15 minutes (excluding drying time) Tools Required: Flat-head screwdriver Cost: $0 – $30.00 Parts (if required): Aftermarket – Filters: BEHR/BMW 64118391385 Genuine Bentley…
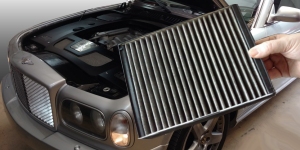
Time Required: 20 minutes Tools Required: Phillips screwdriver Cost: $60.00 Parts: Pollen Filters: 3Z0819439AP Suitable Aftermarket Part: CUK2736-2 (Mann Filter) 2 x Pollen Filter Seal…

On the topic of finances, one of the most frequently asked questions I get about the Bentley is, “How much is insurance?” Insurance can be…
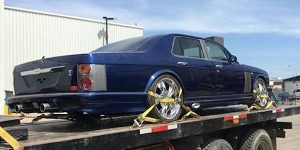
A fellow Bentley/Rolls-Royce fan recently sent me a couple photos of a unique custom creation that was spotted in Alberta, Canada. Presenting: the Mentally Insane.…